
SmallRig 5519 Swivel and Tilt Adjustable Monitor Support with Cold Shoe(BumbleBee Edition)
- VAT free purchase available at checkout.
- MerkSmallRig
Beschrijving
Artikelnr.: 31327
SmallRig 5519 Swivel and Tilt Adjustable Monitor Support with Cold Shoe (BumbleBee Edition) – 360° Swivel and 180° Tilt
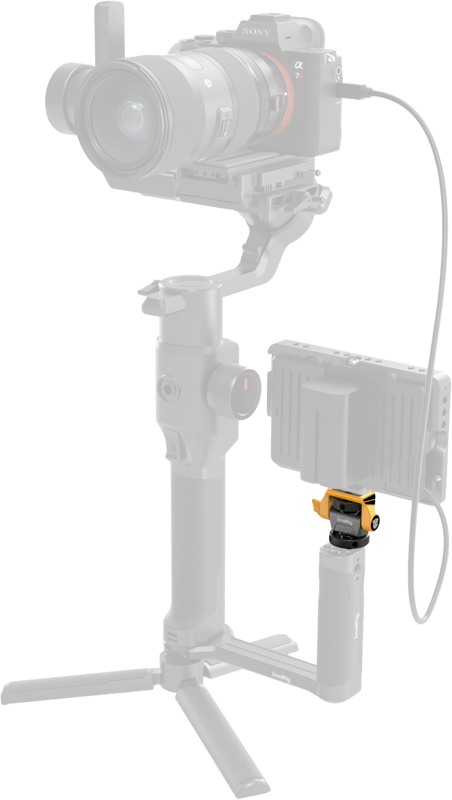
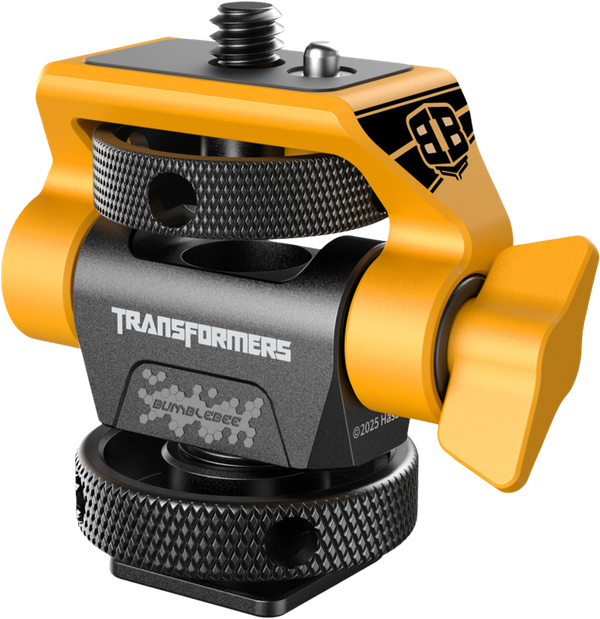
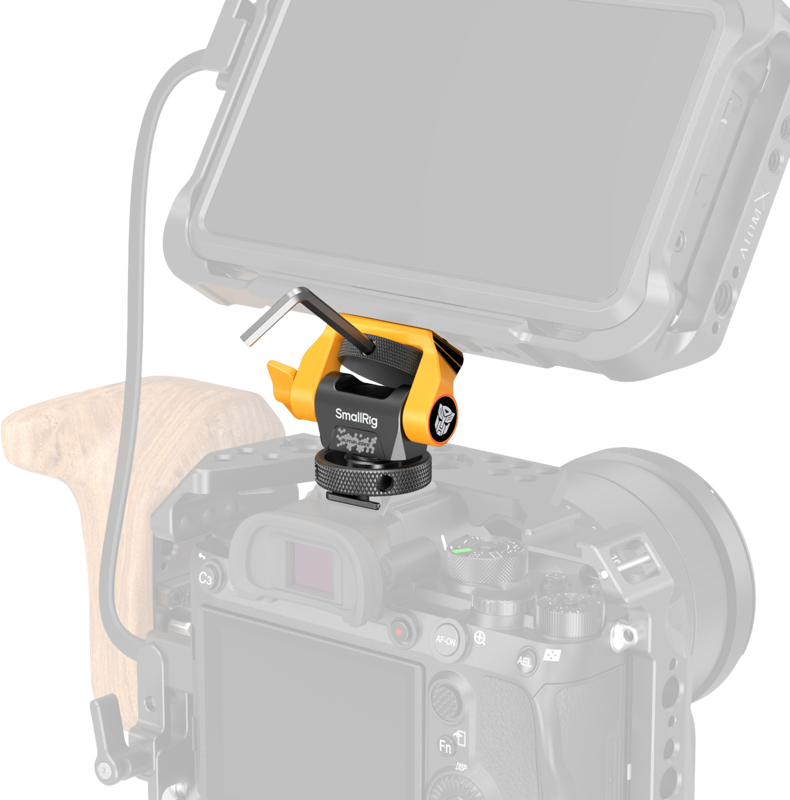
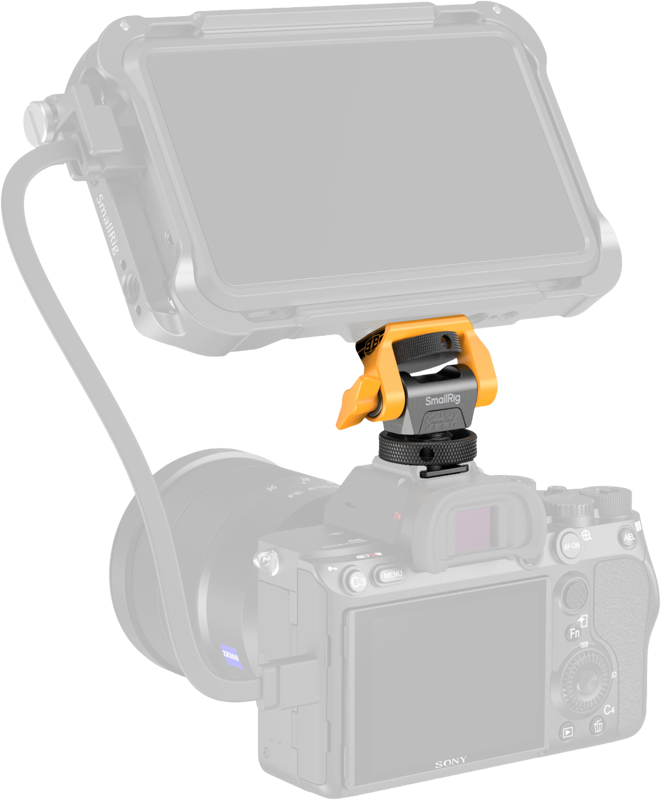
Deze SmallRig 5519 monitorsteun houdt uw monitor veilig op zijn plaats en biedt tegelijkertijd brede positioneringsmogelijkheden. Hij monteert op een cameraschoen, cage of handgreep via een onderste cold shoe en biedt een bovenste 1/4"-20 schroef voor het bevestigen van een monitor, microfoon, licht of andere accessoires.
Belangrijkste kenmerken
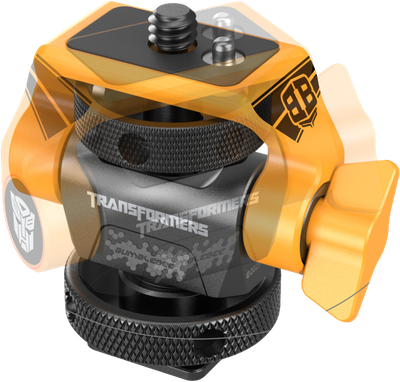
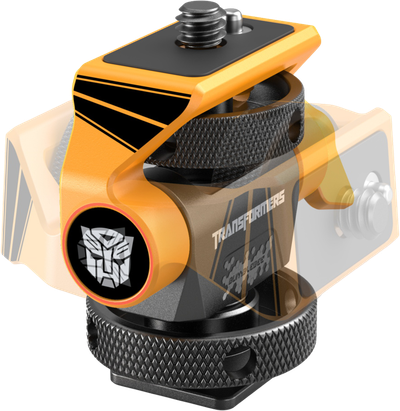
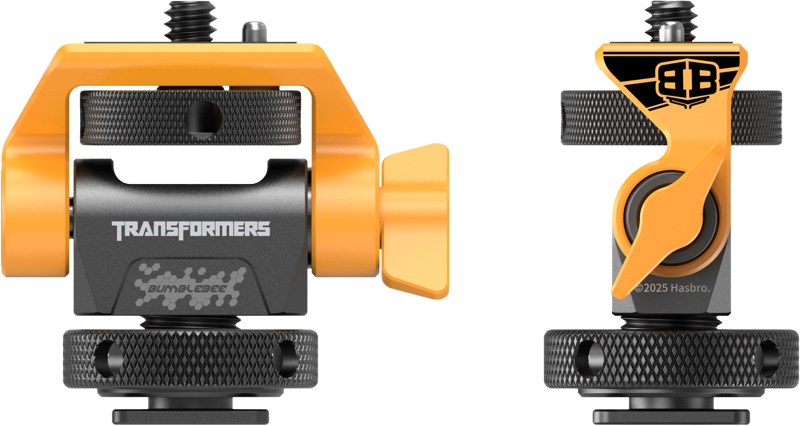
- Draaien en kantelen: Kantelbereik van 180° en volledige 360° rotatie voor flexibele monitorplaatsing.
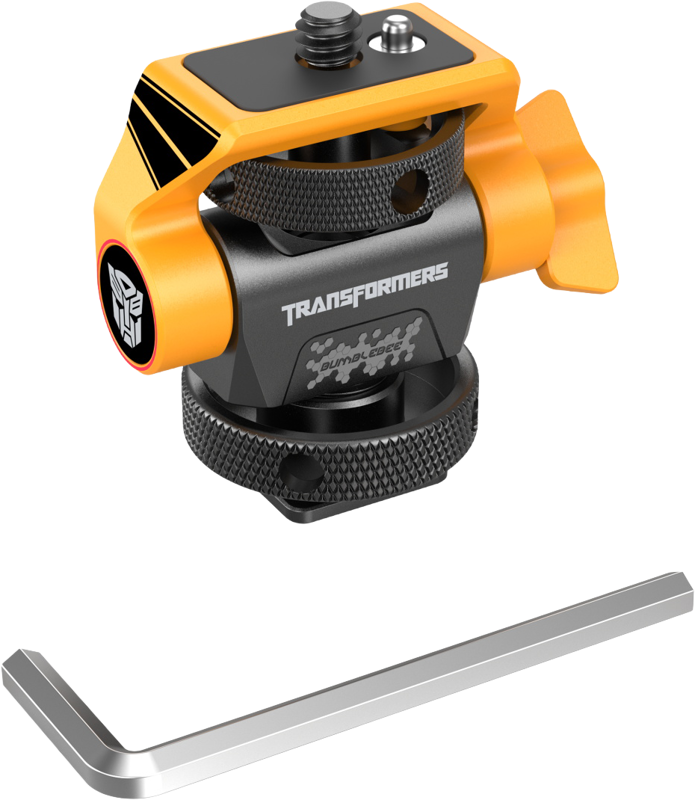
- Cold shoe en 1/4"-20 bevestiging: Onderste cold shoe voor cameraschoen, cage of handgreep; bovenste 1/4"-20 schroef voor monitor, microfoon, licht, enz.
- Duurzaam kantelmechanisme: De kantelas kan snel worden aangetrokken met een knop om aan verschillende belastingen en voorkeuren van de gebruiker te voldoen.
- 360° pan-aanpassing: De pan-as is verstelbaar met een inbussleutel voor veilige positionering.
- Beveiligende positioneernagels: Veerkrachtige positioneernagels bovenaan helpen Atomos Ninja V / V+ monitors vast te zetten.
- Onderste gaten voor accessoires: 1/4"-20 getapte gaten aan de onderkant maken bevestiging van magic arms en vergelijkbare accessoires mogelijk.
- Gereedschapsvriendelijke duimschroeven: Beide duimschroeven hebben gaten voor een inbussleutel om montage en demontage te vergemakkelijken.
Duurzaamheid en geteste prestaties
De kantelas is ontworpen voor herhaald gebruik. SmallRig heeft het mechanisme getest op duurzaamheid en de kantelbelasting nam met niet meer dan 20% af na 10.000 kantelingen. Deze informatie helpt u de verwachte levensduur van de kantelfunctie bij frequent aanpassen te begrijpen.
Compatibiliteit
- Ontworpen voor 5” en 7” monitors.
Wat zit er in de verpakking
- Monitor Mount
- Allen Wrench
Technische specificaties
| Specification | Value / Note |
|---|---|
| Tilt range | 180° |
| Swivel / Pan range | 360° |
| Top mounting screw | 1/4"-20 |
| Bottom mounting | Cold shoe for camera hot shoe, cage or handle |
| 90° load capacity | <4.2kg |
| 45° tilt load capacity | <2.5kg |
| 30° tilt load capacity | <2.3kg |
| Tested durability note | Tilt load capacity decreased by no more than 20% after 10,000 tilts |
FAQ
Question: Will this support fit my monitor and allow flexible positioning?
Answer: Yes. The SmallRig 5519 supports 5” and 7” monitors and provides 180° tilt plus 360° swivel for flexible viewing angles. Use the tilt knob to tighten the hinge for different weights and the Allen wrench to set the pan axis.
Question: Can I mount other accessories besides a monitor?
Answer: Yes. The top features a 1/4"-20 screw suitable for microphones, lights or other accessories. Additionally, the bottom includes 1/4"-20 threaded holes to attach magic arms or similar mounting arms.
Question: Is the mount robust enough for frequent adjustments?
Answer: The tilt mechanism is durability-tested. After 10,000 tilts the tilt load capacity decreased by no more than 20%, indicating the mechanism is built for repeated use. Tighten the tilt knob to suit different monitor weights.
Question: How do I assemble and adjust the unit on set?
Answer: Slide the mount into a camera hot shoe, cage or handle using the bottom cold shoe. Secure your monitor on the top 1/4"-20 screw. Use the included Allen wrench to adjust the pan axis and use the thumbscrews—with holes for the Allen wrench—to facilitate assembly and disassembly.